
Upgrade and downgrade Super Sites
Once you purchase Super Sites, you are free to upgrade and downgrade sites as you see fit. For example, if you purchase Super Sites on behalf of your clients and a client churns, you can reassign the Super Site to another account.
When you downgrade a Super Site, you will lose access to expanded data warehousing features for that property.
How upgrade a super site
Sign in to your SEO Gets account.
Navigate to Super Sites under account settings.
Click + Upgrade Sites.
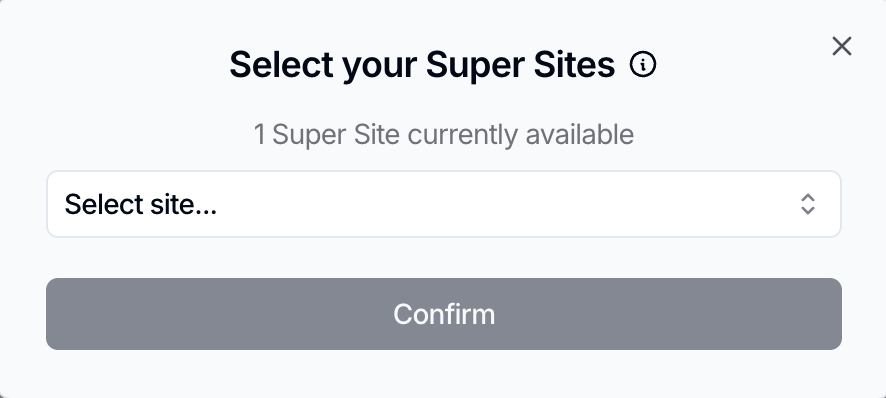
Pick a site from the dropdown.
Already have Super Sites available? Select the site you'd like to upgrade.
No Super Sites on your account yet? You'll be prompted to add one for $10/mo before continuing.
Hit Confirm to complete the upgrade.
How downgrade a super site
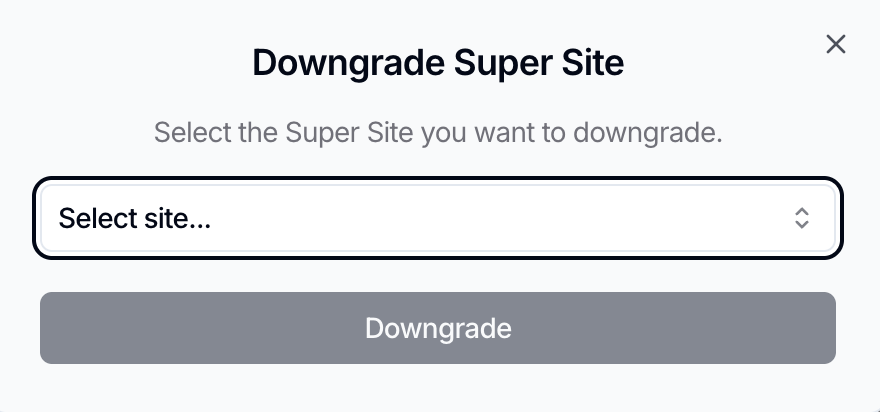
From Super Sites, click Downgrade Site.
Select the Super Site you want to downgrade.
Determine whether you would like:
Replace the site with a different site
Remove the Super Site (it can be reassigned later)
If you decide to remove the Super Site, you will be prompted to type the name of the site to confirm.
Click Downgrade
What's next?
That's all there is to it! We recommend upgrading all of your available Super Sites so you aren't missing out on any of the expanded features they offer. If you're experiencing any issues upgrading or downgrading your Super Sites, contact our customer success team using the in-app chat for assistance.