
Create & assign tags
Tags help you organize sites into customizable groups on the Master Dashboard so you can filter faster and spot patterns across related sites. A simple tagging system makes the dashboard much easier to use, especially if you manage multiple clients, industries, or site types.
Tags are user-specific and saved only to your account. If you work with a team, each person needs to create their own tags.
Use a simple naming system
Start with tags you’ll actually use in filters. Good examples are client names, industries, regions, MRR ranges, or workflow labels like migration.
Use one format for similar tags, like all lowercase or title case
Keep names short so they’re easy to scan
Avoid near-duplicates like ecommerce, e-commerce, and Ecom
If a tag won’t help you filter or compare sites later, skip it.
Tag for reporting, not decoration
The best tags support a real question you want to answer on the Master Dashboard. For example:
Which client sites dropped this week?
How are all healthcare sites performing?
What changed across sites in a migration group?
Are clients we've labeled as at risk of churn seeing improved results since our last sprint?
This keeps your tag list useful instead of cluttered. See below for an example:
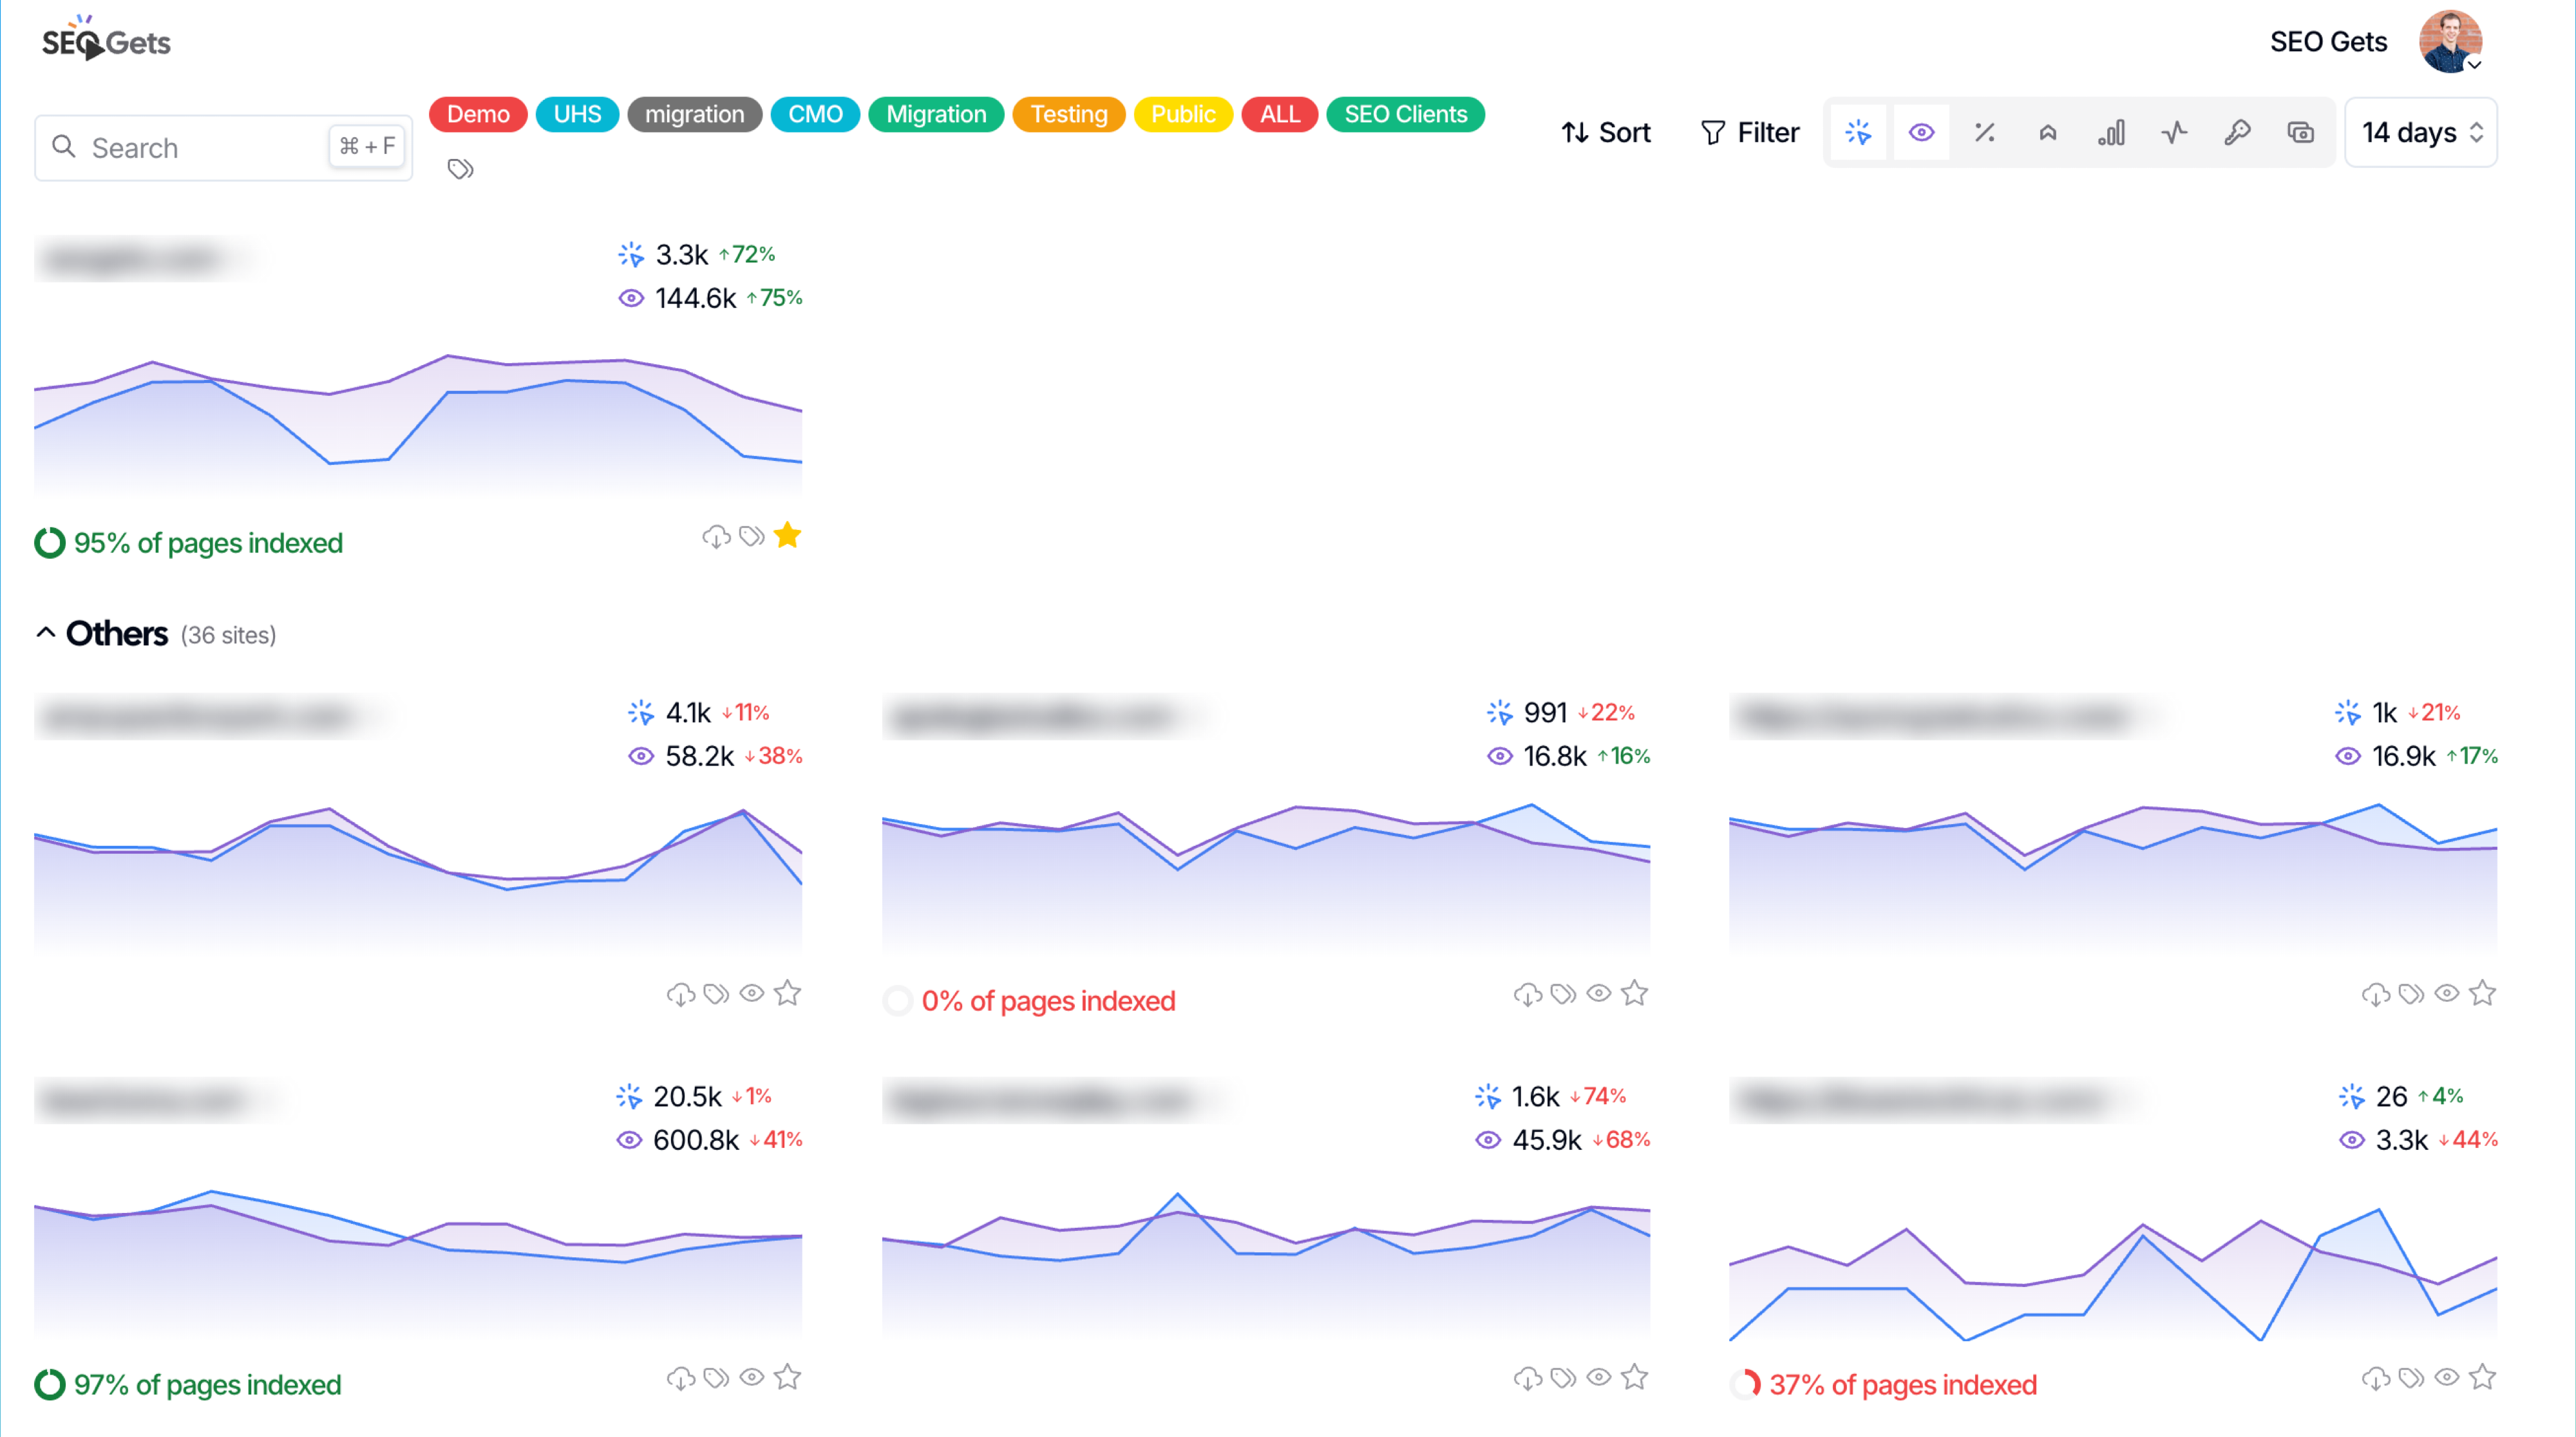
Apply tags consistently
Once you choose a tag, use it the same way across every relevant site. Consistency matters more than having lots of tags.
After tagging your sites, use the tag filter on the Master Dashboard to review grouped impressions, clicks, and query counts in one view.
Use tags for recurring workflows
Tags are especially helpful when you revisit the same group of sites often. A few good use cases are tracking migrations, grouping sites by client portfolio, or reviewing a specific segment before monthly reporting.
If you want a practical example, see How to Track Site Migrations. If you’re still getting comfortable with dashboard filters, start with Getting Started with SEO Gets.